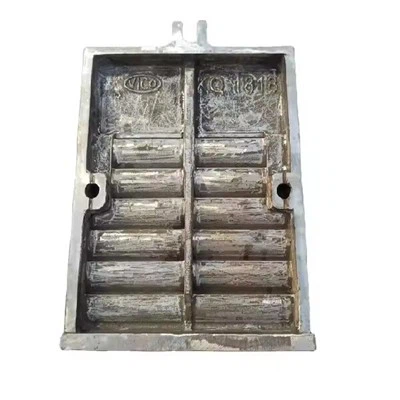
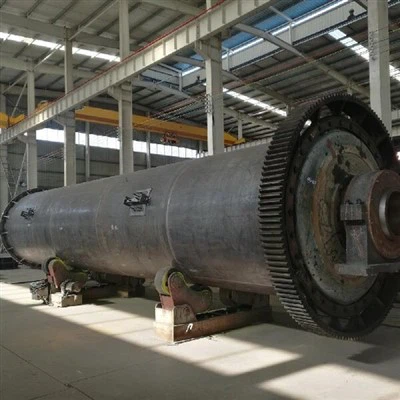
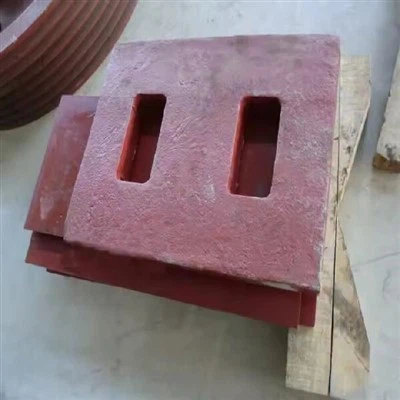
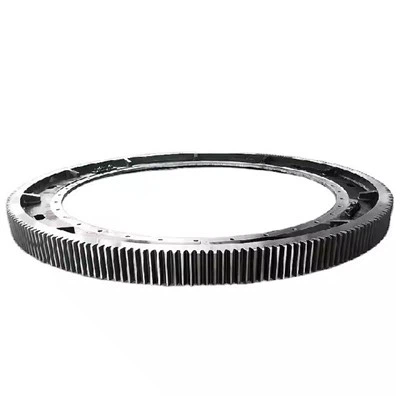
Installing ball mill liner parts is a crucial process that can significantly impact the performance and longevity of your ball mill. As a reputable ball mill parts supplier, I have witnessed firsthand the importance of proper installation. In this blog, I will guide you through the step - by - step process of installing ball mill liner parts, ensuring that your ball mill operates at its best.


Pre - installation Preparations
Before you start the installation process, it is essential to conduct a thorough inspection of all the liner parts. Check for any signs of damage, such as cracks, chips, or uneven surfaces. As a ball mill parts supplier, we ensure that all our products meet high - quality standards. However, transportation and handling can sometimes cause minor issues. If you find any damaged parts, contact us immediately, and we will arrange for replacements.
Measure the interior dimensions of the ball mill to ensure that the liner parts fit precisely. This step is crucial as an improper fit can lead to uneven wear, reduced efficiency, and potential damage to the ball mill. Gather all the necessary tools for the installation, including wrenches, hammers, lifting equipment, and safety gear such as gloves and goggles.
Removing the Old Liners
If you are replacing old liners, the first step is to safely remove them. Start by shutting down the ball mill and disconnecting all power sources to prevent any accidental startup. Drain any remaining materials from the ball mill.
Use appropriate tools to loosen and remove the bolts or fasteners that hold the old liners in place. Be careful not to damage the ball mill shell during this process. Once the fasteners are removed, carefully lift out the old liners. You may need to use lifting equipment, especially for larger liners. Dispose of the old liners properly, following local environmental regulations.
Preparing the Ball Mill Shell
After removing the old liners, clean the interior of the Ball Mill Shell. Remove any debris, dust, or residue that may have accumulated. A clean surface is essential for proper adhesion and installation of the new liners.
Inspect the ball mill shell for any signs of wear, corrosion, or damage. If you notice any issues, consult with us as your ball mill parts supplier. We can provide guidance on whether the shell needs repair or if additional protective measures are required.
Installing the New Liners
- Positioning the First Liner
- Start by positioning the first liner at the bottom of the ball mill. Use lifting equipment to carefully lower the liner into place. Make sure it is aligned correctly with the pre - drilled holes in the ball mill shell.
- Insert the bolts or fasteners through the holes in the liner and the shell. Tighten the fasteners slightly, but do not fully tighten them at this stage. This will allow for some adjustment as you install the remaining liners.
- Installing the Remaining Liners
- Continue installing the remaining liners one by one, working your way up the sides of the ball mill. Ensure that each liner is properly aligned with the adjacent liners and the ball mill shell.
- As you install each liner, insert and tighten the fasteners. Make sure to follow the manufacturer's recommended torque specifications for the bolts. Over - tightening can cause damage to the liners or the shell, while under - tightening can lead to liner movement during operation.
- Sealing the Joints
- After all the liners are installed, seal the joints between the liners. This helps to prevent material leakage and reduces wear at the joints. Use a suitable sealing material, such as rubber gaskets or sealant, depending on the type of ball mill and the operating conditions.
- Apply the sealing material evenly along the joints and press the liners together firmly to ensure a good seal.
Installing the End Covers and Bearing House
- End Covers
- Once the liners are installed, it's time to install the Ball Mill End Cover. Clean the mating surfaces of the end cover and the ball mill shell.
- Carefully position the end cover over the opening of the ball mill. Align the holes in the end cover with the corresponding holes in the shell. Insert the bolts and tighten them according to the recommended torque.
- Bearing House
- The Ball Mill Bearing House is a critical component that supports the rotation of the ball mill. Install the bearing house on the shaft of the ball mill.
- Make sure the bearing house is properly aligned and seated. Lubricate the bearings according to the manufacturer's instructions. This helps to reduce friction and wear, ensuring smooth operation of the ball mill.
Post - installation Checks
After the installation is complete, conduct a final inspection. Check all the fasteners to ensure they are tightened properly. Inspect the seals and joints for any signs of leakage.
Rotate the ball mill shaft manually to ensure that there is no interference or binding. This will help you identify any potential issues before starting the ball mill.
Once you are satisfied with the inspection, reconnect the power sources and start the ball mill. Monitor the operation closely for the first few hours. Pay attention to any unusual noises, vibrations, or temperature changes. If you notice any problems, stop the ball mill immediately and contact us for assistance.
Conclusion
Installing ball mill liner parts is a complex but essential process. By following these steps and ensuring proper installation, you can extend the lifespan of your ball mill and improve its performance. As a ball mill parts supplier, we are committed to providing high - quality products and excellent customer service. If you have any questions about ball mill liner parts installation or need to purchase ball mill parts, please feel free to contact us. We are here to help you with all your ball mill needs.
References
- "Ball Mill Operation and Maintenance Manual" by Industry Standard Publications
- Technical documentation provided by leading ball mill manufacturers.